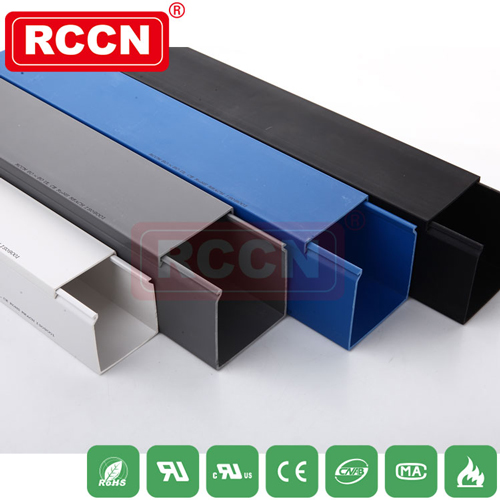
2. After leaving enough wires at the power supply and socket, put the wires in the bottom plate, buckle the cover plate, discharge the wire and buckle the bottom plate at the same time, the interface of the bottom plate and the cover plate should be staggered. When the light line is arranged, the neutral line does not pass through the switch, and is directly connected to the lamp holder and the power supply; the live wire must enter the switch, and enough wire ends must be left at the switch.
3. The wire groove is not long enough to cut the wire groove as needed when connecting. The tool can be a utility knife or diagonal pliers, and a hacksaw can be used to cut the bottom plate and the cover plate at the same time.
Use sheathed wire for wiring, which can be directly laid on the hollow floor and on the wall. First use a pencil and a carpenter to draw a line with an ink fountain, fix it with a steel tie head or a plastic wire clip. The distance between the wire clips is 20cm, and they must be horizontal and vertical. Straight suit, tighten as much as possible when wiring. When turning on the same wall, it must be vertical. The bending radius of the bend is 3 to 4 times the width of the sheath line. When the cross is crossed, a line card is installed on each side.
General requirements: 1. If the sheath wire is not long enough when wiring, it is not allowed to connect the core and the core directly, but use terminal boxes, sockets, switches and other terminals to connect.
2. There should be protective tubes where the sheath line passes through beams, walls, floors and crossing lines, and a line card should be installed at each end of the tube. The two ends of the wire crossing the settlement joint of the building should be fixed and reliable, and a proper margin should be left between the gaps.
3. It should not be directly buried in the plastering layer and laid out in the open and open place.
4. When the plastic sheath wire enters the junction box or is connected to the electrical appliance, the sheath wire should be led into the box by 150-200mm.
The general process of the dark line process is marking positioning → slotting → installing bottom box → pipe routing → threading → mid-term acceptance → sealing groove → lamp installation → installing switch panel and socket panel.
Scribe positioning
The line is positioned according to the direction of the wire on the design drawing. The traditional line tool has a carpenter ink fountain, and the modern line tool has a laser liner, a laser rangefinder that integrates distance measurement and line release, cassette positioning, and an open wire switch socket. Use box ruler and pencil for positioning.
The traditional ink fountain takes up the thread manually, but does not automatically take up the thread. Now there are ink fountains that automatically take up the thread, some ink and toner. When using an ink fountain, two people are generally used to flick the line, and two ink fountains are required. When flicking the thread, hold one in each hand and connect the threads in the two ink fountains together. In this way, one person turns the wheel on the ink fountain to make one end of the ink line return ink, and the ink line in the other person's hand is already stuck with ink, and the line can be flicked. In this way, through the movement of the ink thread, the thread can be flicked. This method of bouncing the thread saves time and avoids walking back and forth.
Laser scribing instrument is also called laser marking instrument. Its characteristics are: the width of the projected laser line is controlled within 6mm, only 220V power supply is needed, and it can be used in high temperature environments. When using a laser scribing machine, it should be noted that because the laser is a medium-power laser, improper operation can cause damage to the eyes, and the management of the laser must be exclusively responsible for the management of the laser. Safety measures must be taken to protect the eyes when using, for example, according to the wavelength of the laser , Choose protective glasses with appropriate optical density.
Slotting
Determine the width of the slot: According to the diameter of the PVC pipe, determine the width of the slot. If you choose a 16mm PVC pipe, the groove depth is 20mm; if you choose a 20mm PVC pipe, the groove depth is 25mm. The lateral slotting of the light-weight wall should not exceed 50cm; the lateral slotting of the load-bearing wall is not allowed; the lateral slotting of the internal insulation wall should not exceed 100cm.
Slotting principle:
①The shortest route principle;
②Do not destroy the original strong current principle;
③Do not destroy the waterproof principle.
The construction specification requires horizontal and vertical. If the construction is not in accordance with the construction specification, the following problems will occur:
1. Do not construct according to the requirements during operation, and the slot opened is like a spider web, which is random and disorderly, especially if there is a chute. The consequence is that cracks will appear on the wall where the grooves have been once, and the scope of the cracks will gradually spread everywhere.
2. The grooves are of different depths and are not carried out as required, resulting in uneven thickness of the line pipe after being buried, which will affect future use; at the same time, it will affect the flatness of the wall.


 RCCN WeChat QrCode
 Mobile WebSite